Usage.
Creating a group.
To create a new group rightclick on any grou and press “Create a new group”. Pick a name and press “Make”.
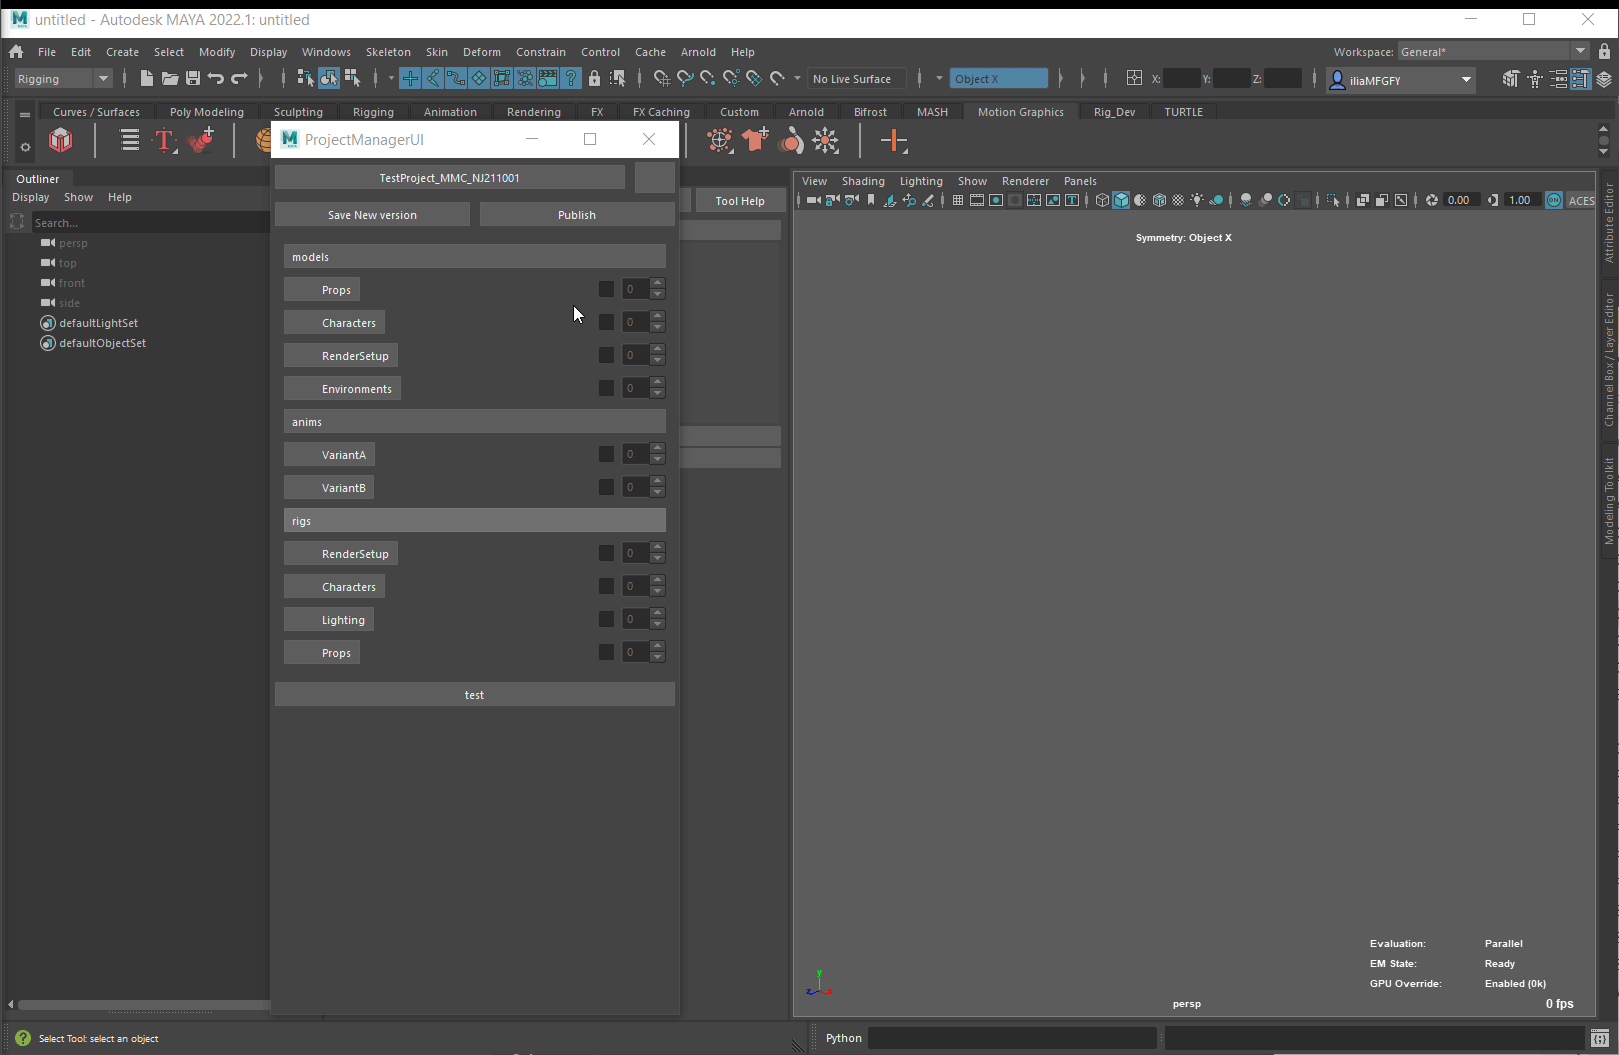
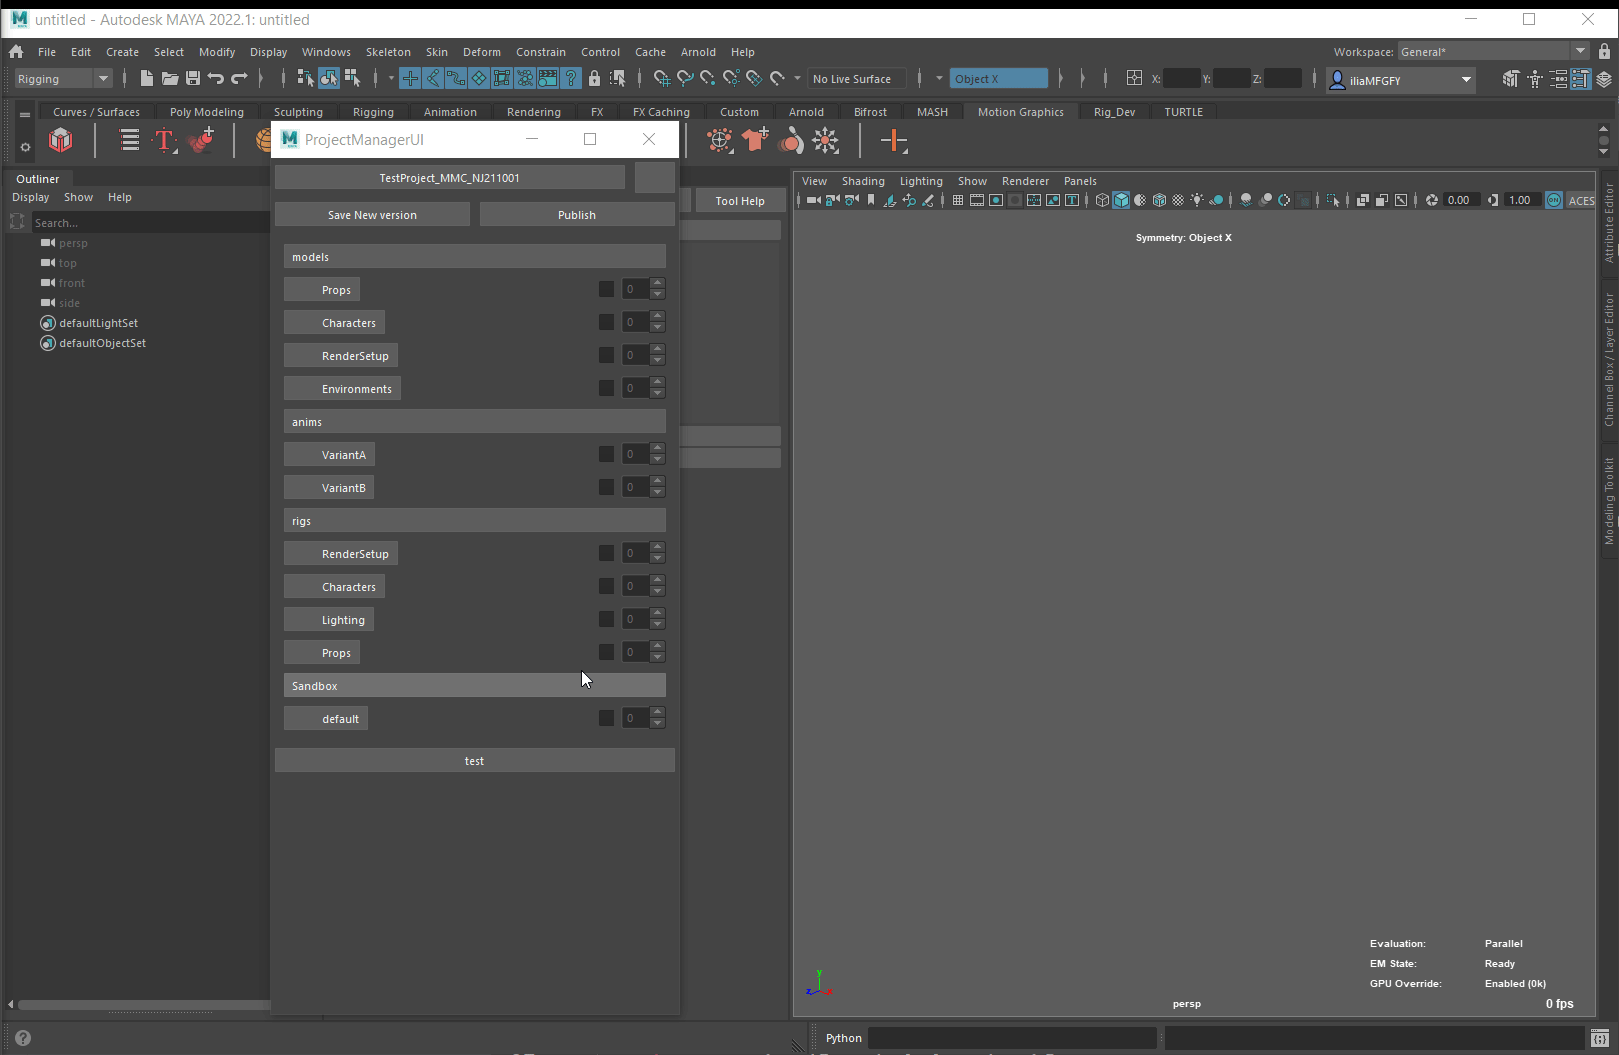
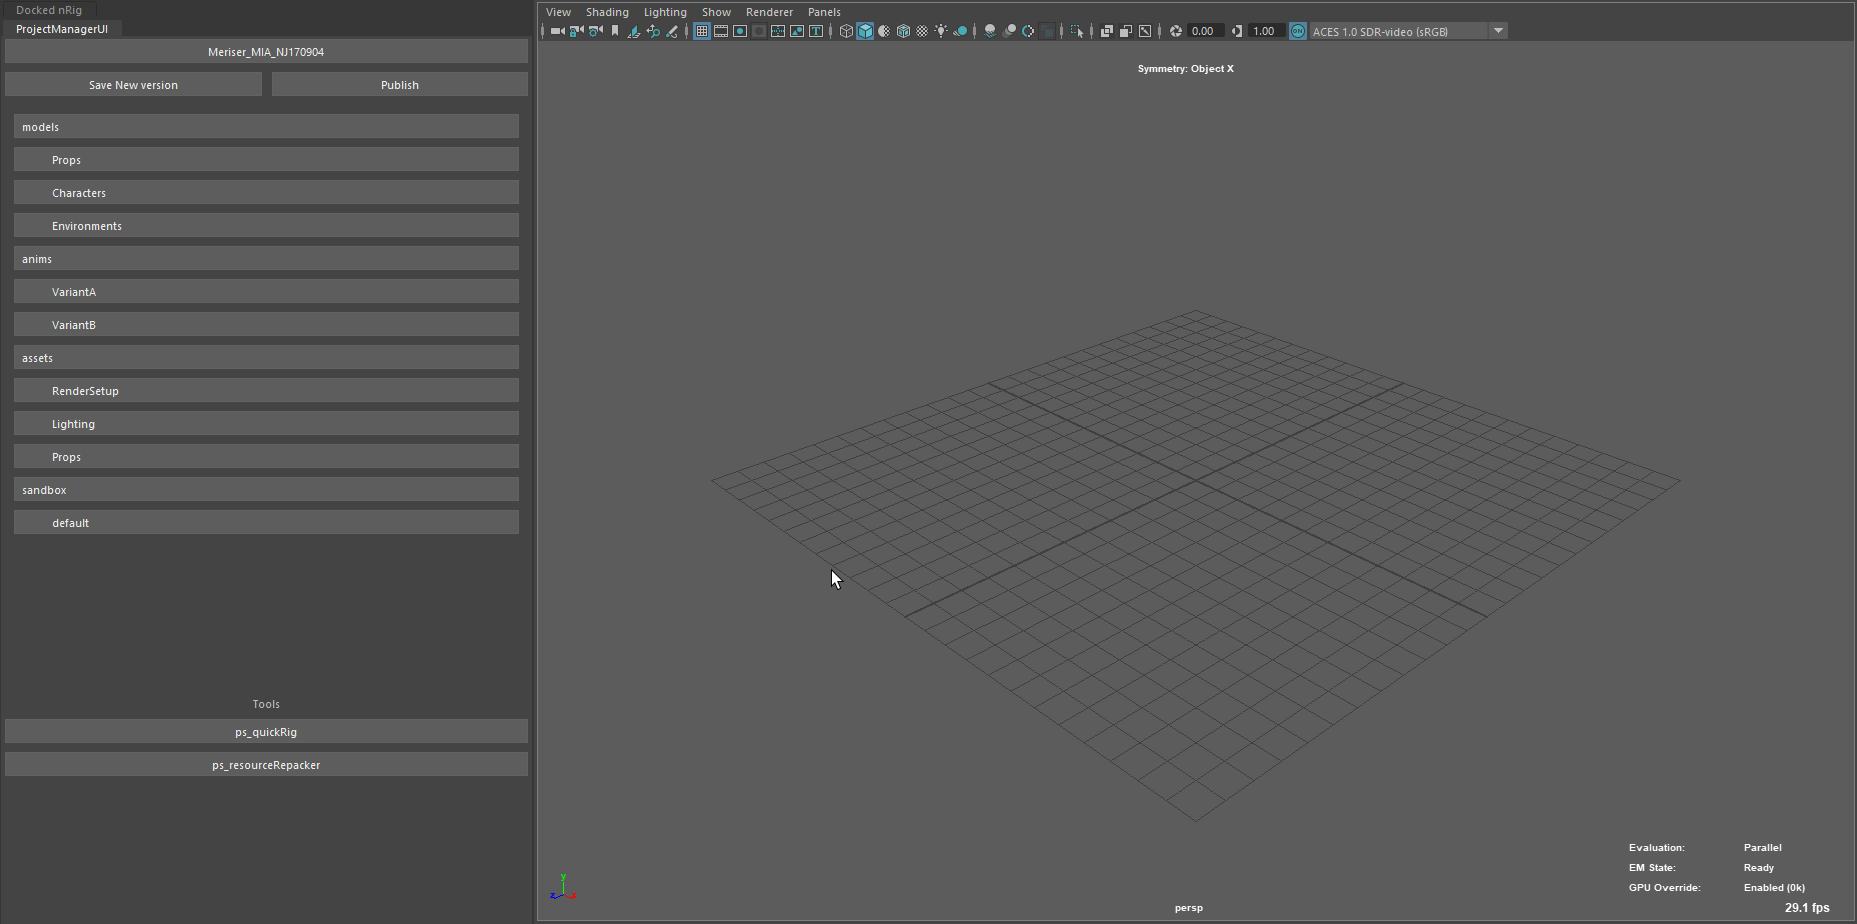
Creating an asset type.
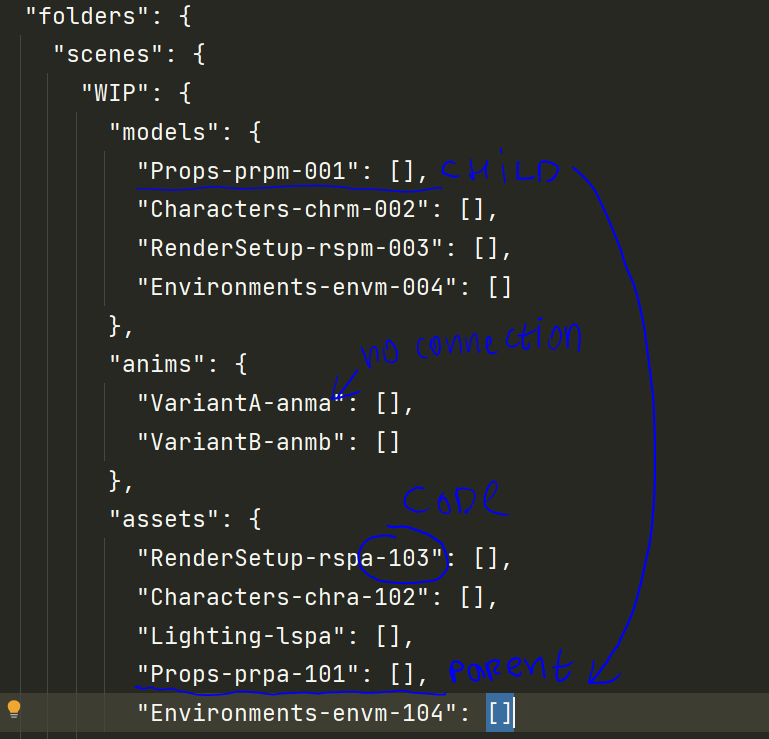
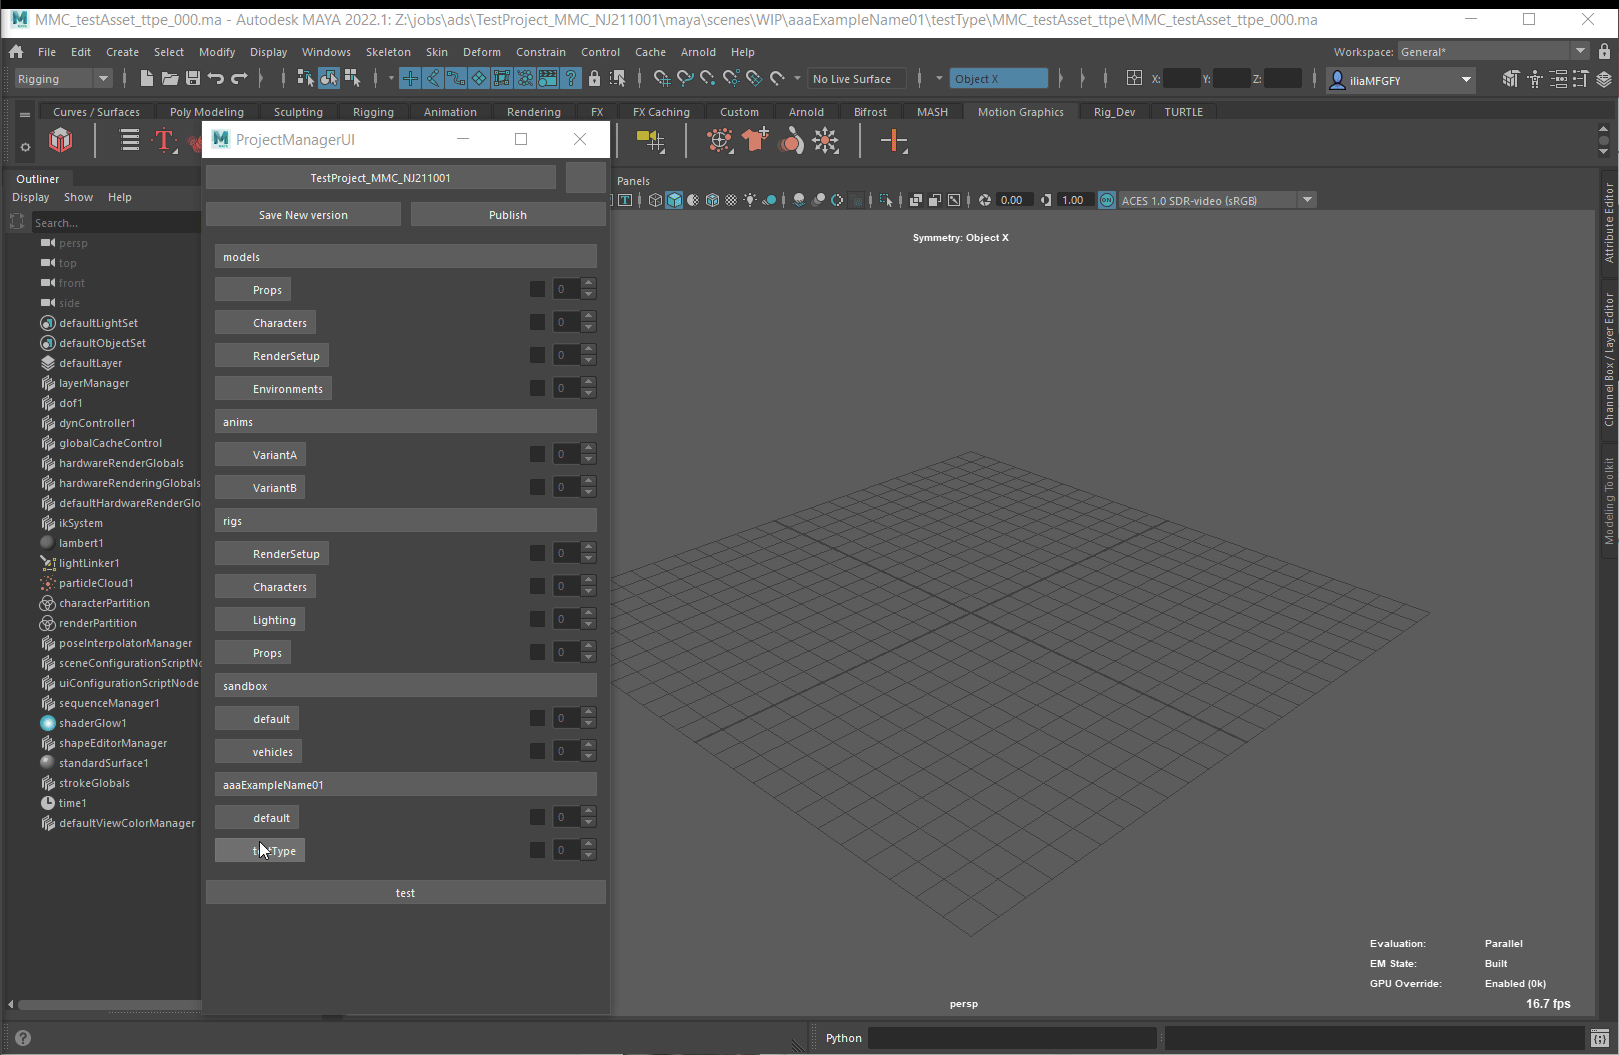
To create an asset tipe rightclick on any asset type and press “Create new asset type”. Pick a name and suffix and press “Make”. Suffix is four letters that can define this asset type.
Examples:
props/models - prpm
props/rigs - prpr
characters/rigs - chrr
environments/models - envm
This adds a new asset type to project’s convention automatically. If you create a folder manually, Project Manager will ignore it.
Creating a scene.
To create a scene you should navigate where that scene should be in categories/asset types, go to scene level, right click on any scene and press “Add a new scene”. Type the name and press “Make”
Note
Note that masterScene will be copied as a new scene and constructor script will be executed.

To create an icon for your scene, rightclick on the empty quad and press “Capture a new Icon”.
If the asset you’re creating is connected to other asset as a parent asset, then child asset will be created first and referenced to parent asset.
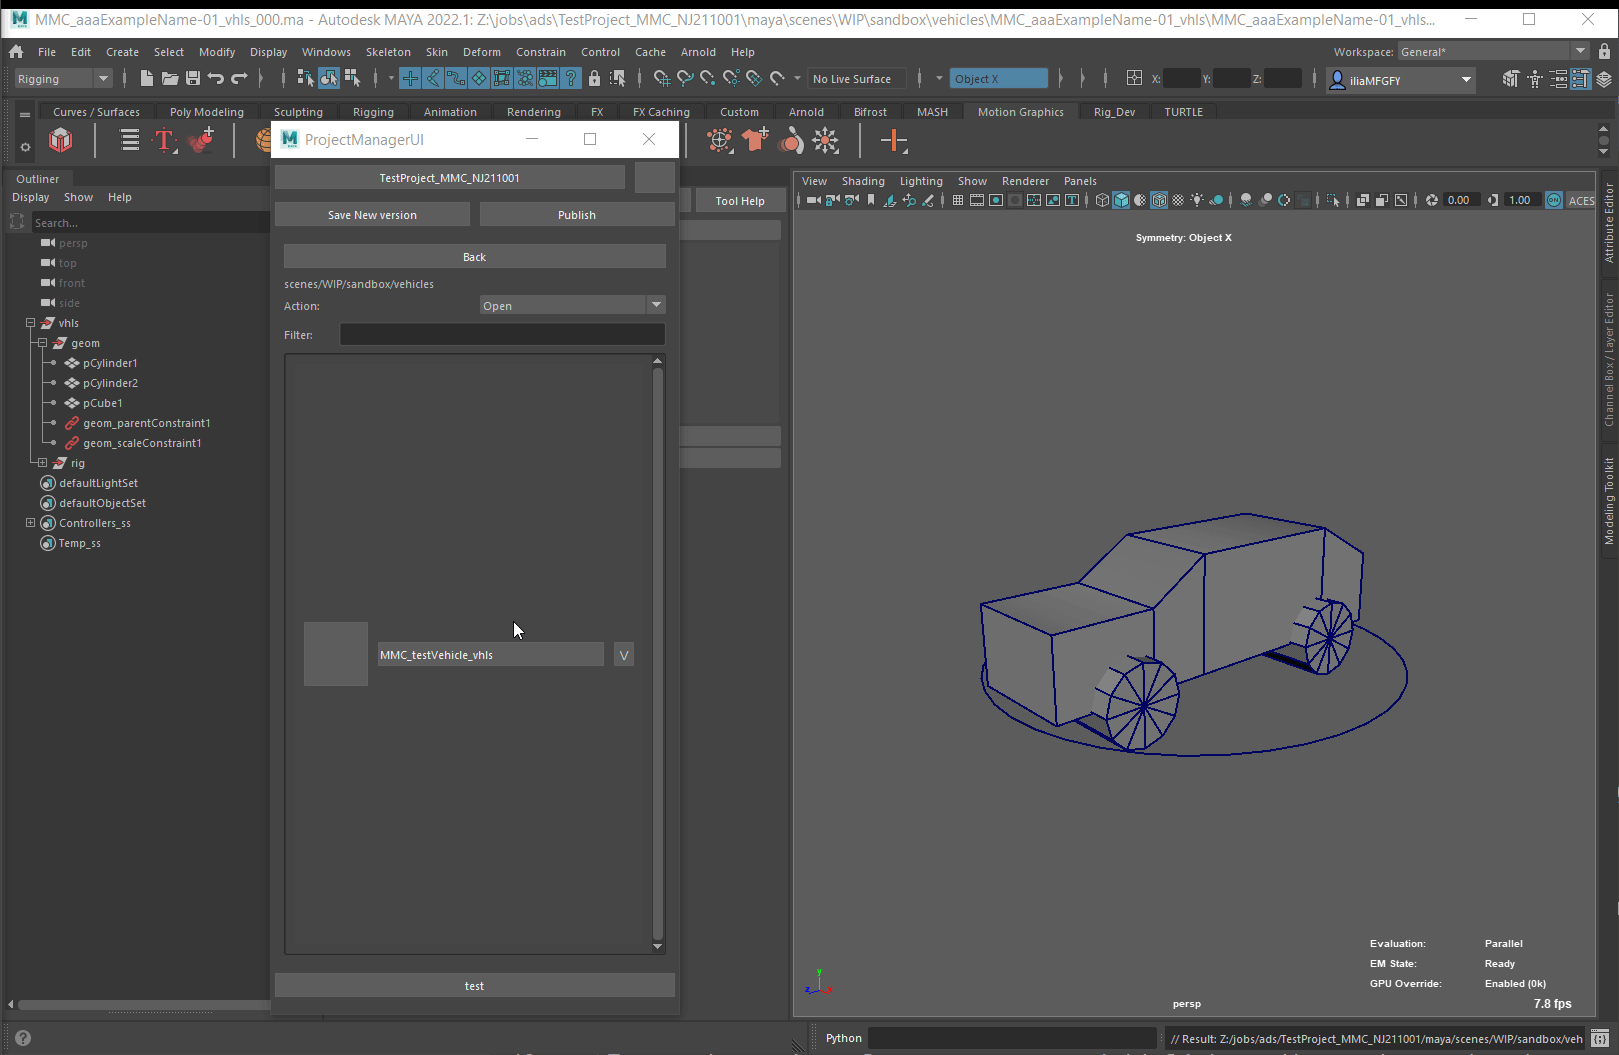
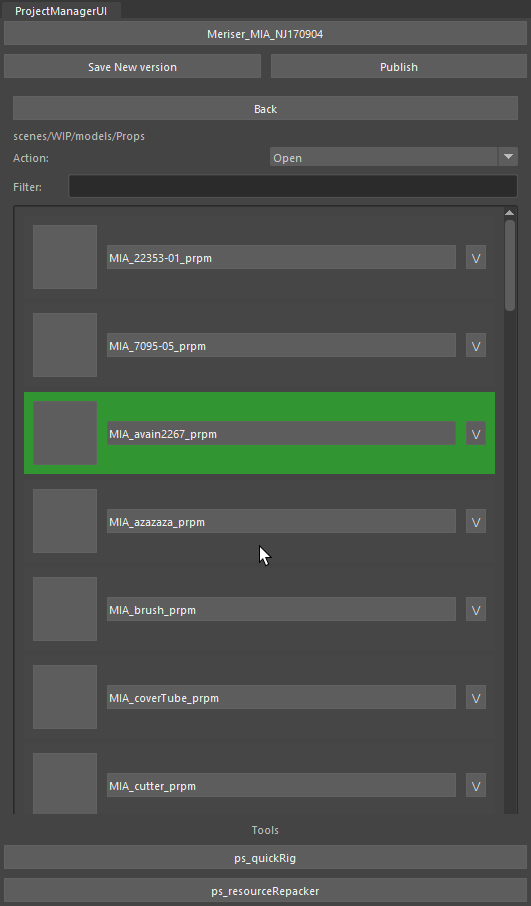
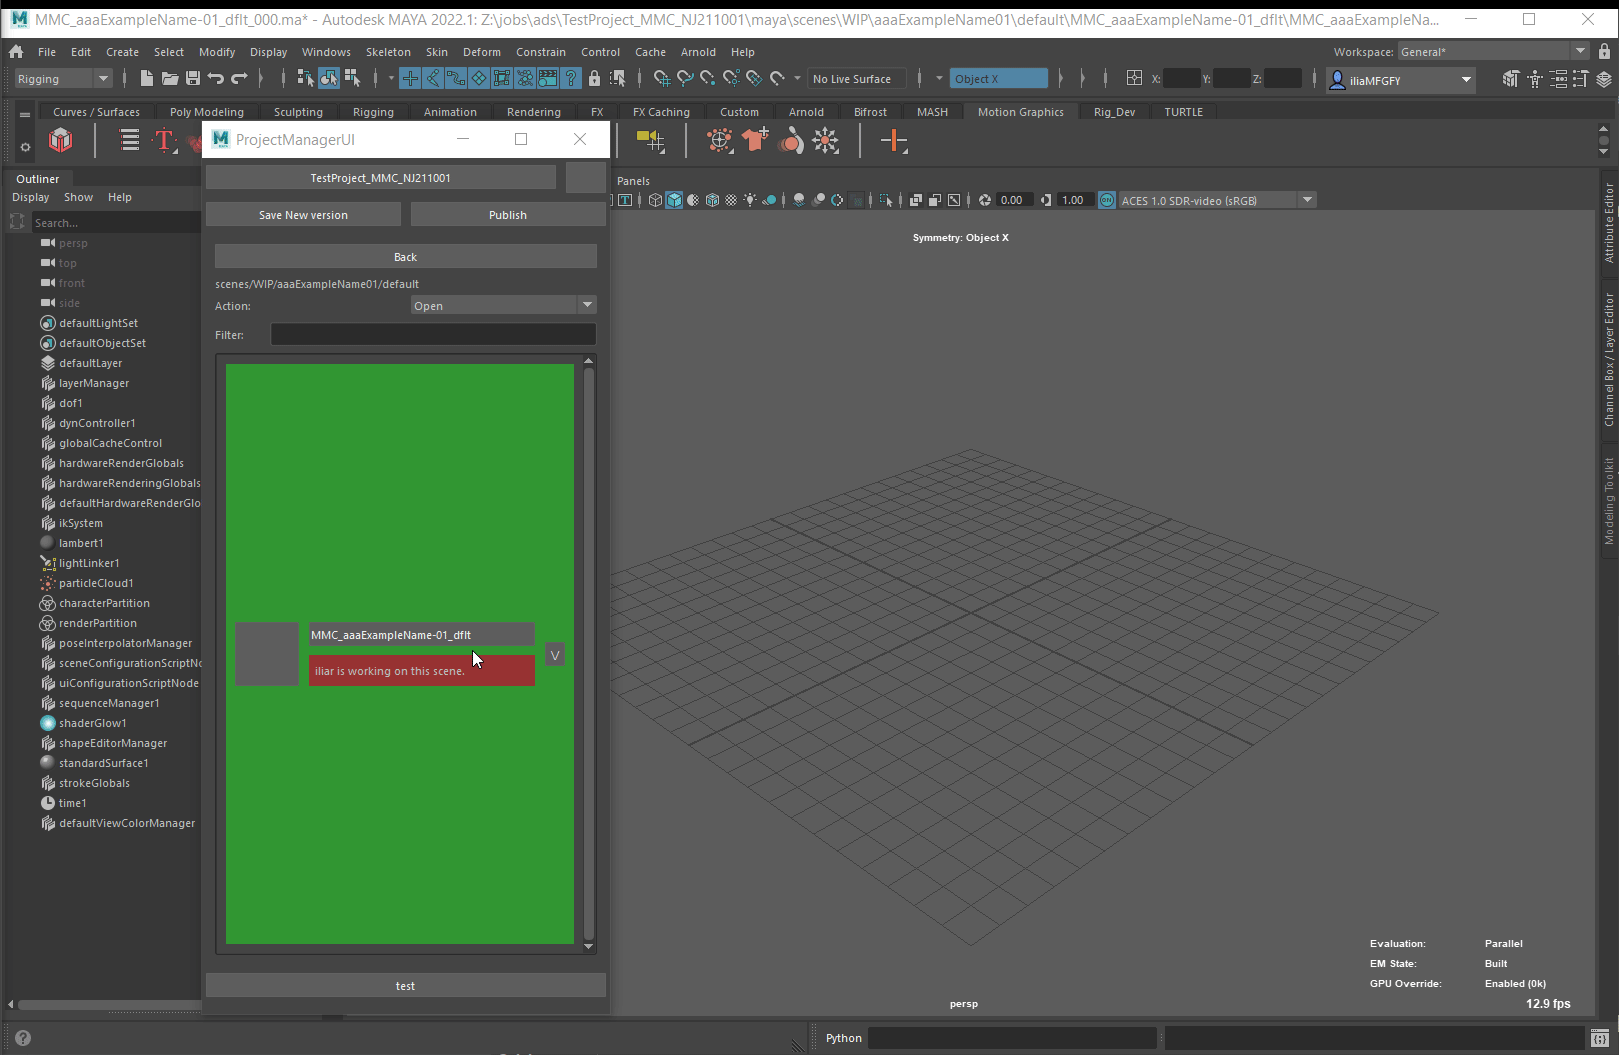
Opening a scene.
To open a scene navigate to scene level, in dropdown menu select “Open” and press on scene.
You can filter scenes typing something in filter textfield.
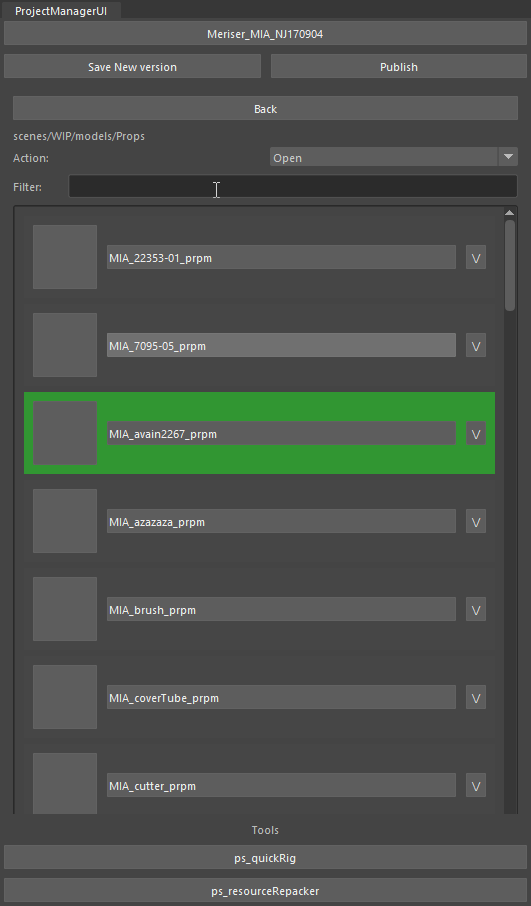
You can open a previous version of scene by rightclicking on it, mouseovering to “Versions” and picking one.
Note
Scene might be opened by somebody else. You will see a message “Username is working on this scene.”. Ask them before working on the scene.
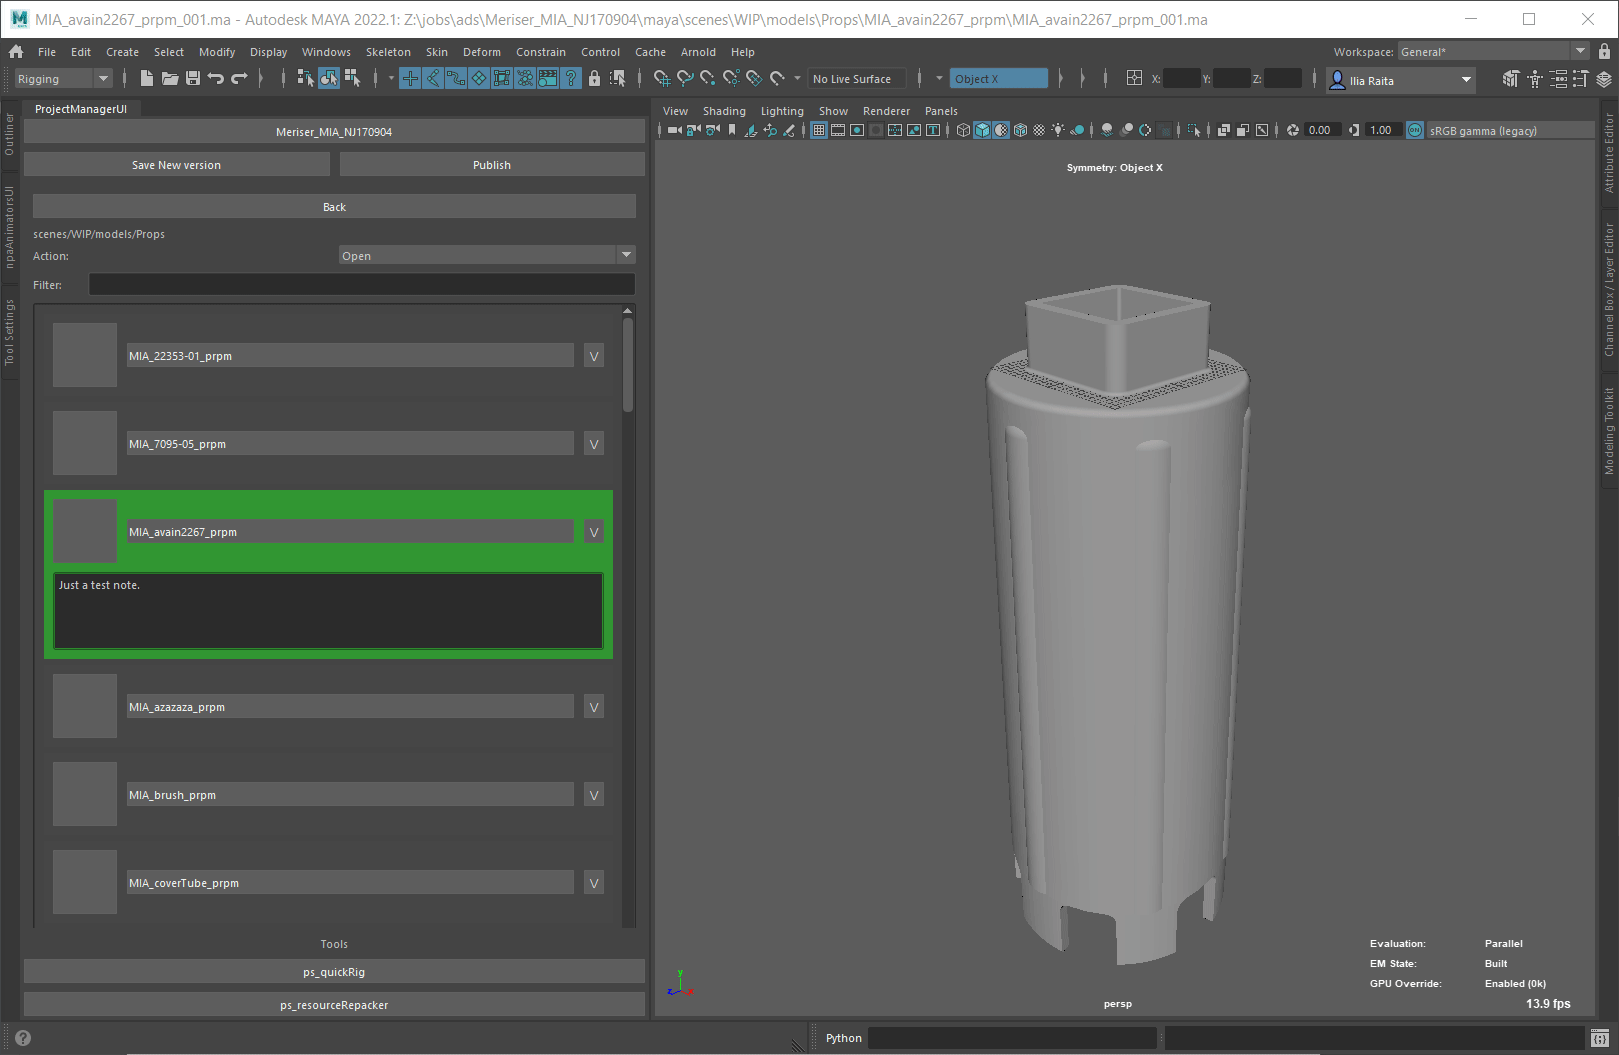
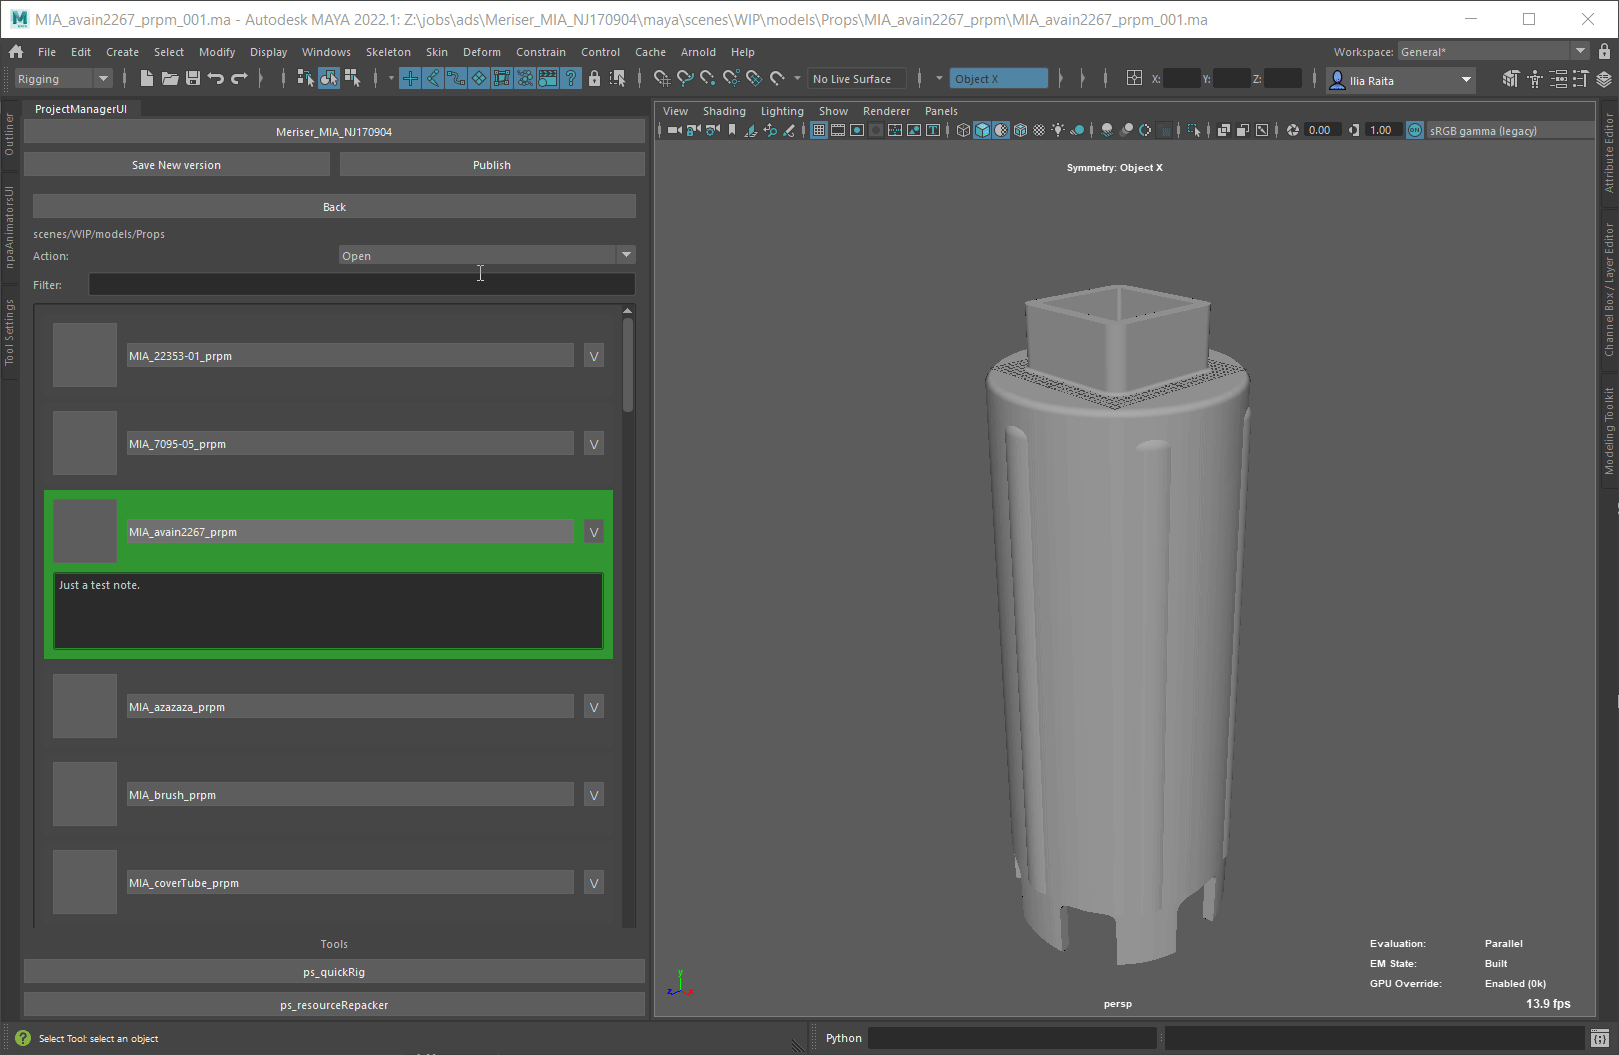
Saving a new version.
To save a new version press “Save New version” Button.

To Add notes you your scene press “/” sign and type em into the textfield.

Publishing a scene.
To publish a scene press “Publish” Button. This will save a new published version of file. Previous one will remain.
Under settings tab there is a “Rename on publish.” Checkbox. If its on, publish will rename your current scene to published, save it there and then if “Go Back To WIP.” checkbox is active go back to WIP file.
If its off it will copy your current scene to publish location in the background.
Having this option on is good when you work on file that has temporary nodes, that you want to delete on publish, but save in WIP file. If this option will be disabled, temp nodes will be deleted in WIP file too.
Referencing a scene.
To open a scene navigate to scene level, in dropdown menu select “Ref” and press on scene.
Importing a scene.
To open a scene navigate to scene level, in dropdown menu select “Import” and press on scene.
Copying a scene.
To copy a scene have your source scene opened. Then just create a new asset as described above.
Saving as.
To save opened version as a version of another scene, navigate to target scene, rightclick on it and press “Save Current scene as a new version”.
Resource checking.
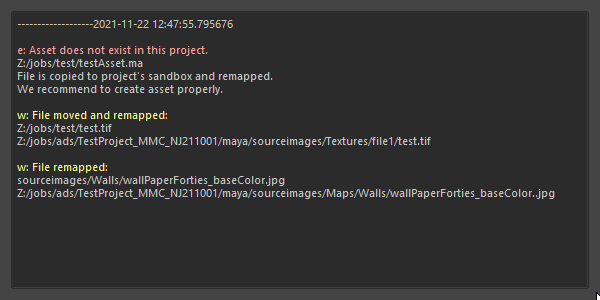
Project manager will automatically check resources of your scene and if something is outside the project path it will tell you:

If ProjectManager can fix the problem automatically, this window will have a button in bottom part. In this case we have a rig referened from outside and some broken texture paths.
For rig it will try to find a file with the same name in project folder. If it finds it it will remap reference to that file. If it does not PM will copy this scene to scenes/sandbox/assets and reference it from there.
Same thing applies to textures, but those will be copied to sourceimages/Maps.
Master files.
Master files are files that will be used as a base for all new files of associated group. For each top group you can create a master file in “scenes/master/groupName.ma”
For example, for scenes/WIP/models there is a file scenes/master/models.ma” that will be copied on creating a new scene under *scenes/WIP/models.
You can edit those files as you like.
Connected assets:
If an asset has a connected child asset, on creating a parent asset child asset will be created first and then referenced into parent asset.
For example, prop/model will be referenced into prop/rig.
In main window you can see which assets are connected by color, code and checkbox on the right side. If checkbox is checked, asset is a parent asset. Code and color reference to asset under other group.
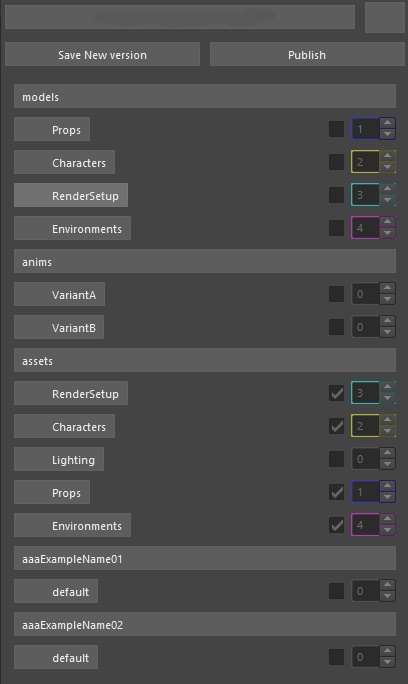
Note
Connections are not editable from interface yet. If you want to add/remove connection you go to convention file and add a code there manually. No connections are set by default.
Constructors.
Constructors are a code snippets that are executed each time a new scene is created. As master files, they are linked to groups. So, for scenes/WIP/models there is a file scripts/constructors/constructor_models.py” that will be executed on creating a new scene under *scenes/WIP/models.
If constructors were not created in your project manually, default constructors will be copied to your project scripts.
- Animation constructor.
If camera under “Cameras” transform exists, this constructor will rename it to short scene name. Creates “Temp_ss” selection set. Everything added to this set will be deleted on publish.
- Model constructor.
Will create “geom” transform. Creates “Temp_ss” selection set. Everything added to this set will be deleted on publish.
- Rig cunstructor.
Will create “geom” transform if it does not exist in scene and will add a quick rig to it. Also will create “Controllers_ss” selection set and add controller to it. Creates “Temp_ss” selection set. Everything added to this set will be deleted on publish.
Validators.
Validators are a code snippets that are executed each time a scene is published. As master files, they are linked to groups. So, for scenes/publish/models there is a file scripts/Validators/validator_models.py” that will be executed on publishing a scene under *scenes/publish/models.
If validators were not created in your project manually, default validators will be copied to your project scripts.
- Animation validator.
Deletes “Temp_ss” selection set and everything in it.
- Model validator.
Checks that all scene transfrms are under “geom” group. If everything is okay deletes “Temp_ss” selection set and everything in it.
- Rig validator.
Checks that all scene transforms are under “suffix” group, if model is not referenced. usually suffix is a 4 letter code that represents the scene type. prpm - prop model, chrr - character rig etc. Checks if “Controllers_ss” selection set exists and not empty. If everything is okay deletes “Temp_ss” selection set and everything in it.
Settings tab.
- Save before NV.
Saves current file before saving a new version.
- Overwrite increment.
Ovewrites previously saved version and won’t create a new one.
- Save before PUB.
Saves current file before publishing.
- Overwrite publish.
Ovewrites previously published version and won’t create a new one.
- Rename on publish.
Renames current file on publish. Otherwise it will copy it in background.
- Go Back To WIP.
After rename on publish will open back your WIP version of file.
Deleting an asset.
Right-click on asset, “open PUB in explorer”, go up the hierarchy and delete that folder. If that button doesn’t work, then you dont have published versions of that asset. Proceed to the next step. Same with “open in explorer”.
Note
Asset might have connected assets. You might want to delete those too.
Deleting an asset type.
Right-click on asset type, “open PUB in explorer”, go up the hierarchy and delete that folder. If that button doesn’t work, then you dont have published versions of that asset. Proceed to the next step. Same with “open in explorer”.
Go to projectRoot/convention.json and delete sub-dictionary associated with that group. Save.
Note
Asset might have connected assets. You might want to delete those too.
Deleting an asset group.
Right-click on asset type, “open PUB in explorer”, go up the hierarchy and delete that folder. If that button doesn’t work, then you dont have published versions of that asset. Proceed to the next step. Same with “open in explorer”.
Go to projectRoot/convention.json and delete sub-dictionary associated with that group. Save.
Warning
Do not delete the last asset group left. Rename instead.
Renaming an asset.
Same process as deleting, but instead of deleting, you should rename. Don’t forget to rename maya files in folder.
Note
If the file is referenced to another scene, link will break and you’ll have to remap it manually.
Renaming an asset type.
Same process as deleting, but instead of deleting, you should rename.
Note
If the file is referenced to another scene, link will break and you’ll have to remap it manually. Also Project manager might find it automatically.
Renaming an asset group.
Same process as deleting, but instead of deleting, you should rename.
Note
If the file is referenced to another scene, link will break and you’ll have to remap it manually. Also Project manager might find it automatically.